Certified Hero: Kindred Stamps July 2026 Release
Certified Hero, Kindred Stamps
Being a hero, just doesn’t mean superhero, it is the the heroes that show up for you when you need them the most. The Certified Hero stamp set shows off a group of friends being their when grief can either turn you into a villain or teach you who your ride or dies are. Let’s dig in!
But first, a public service announcement…This blog utilizes affiliate links. If you choose to click on the links provided to purchase, you are supporting me as I receive compensation for your purchase. If purchasing is not in your books, no worries, I hope you find inspiration for projects you design. By clicking on the links, you are letting Kindred Stamps know that you like my content and to keep bringing me back. Thanks for your time and now back to the regular scheduled shenanigans.
Certified Hero, Kindred Stamps
Project One: Cake First, World Later
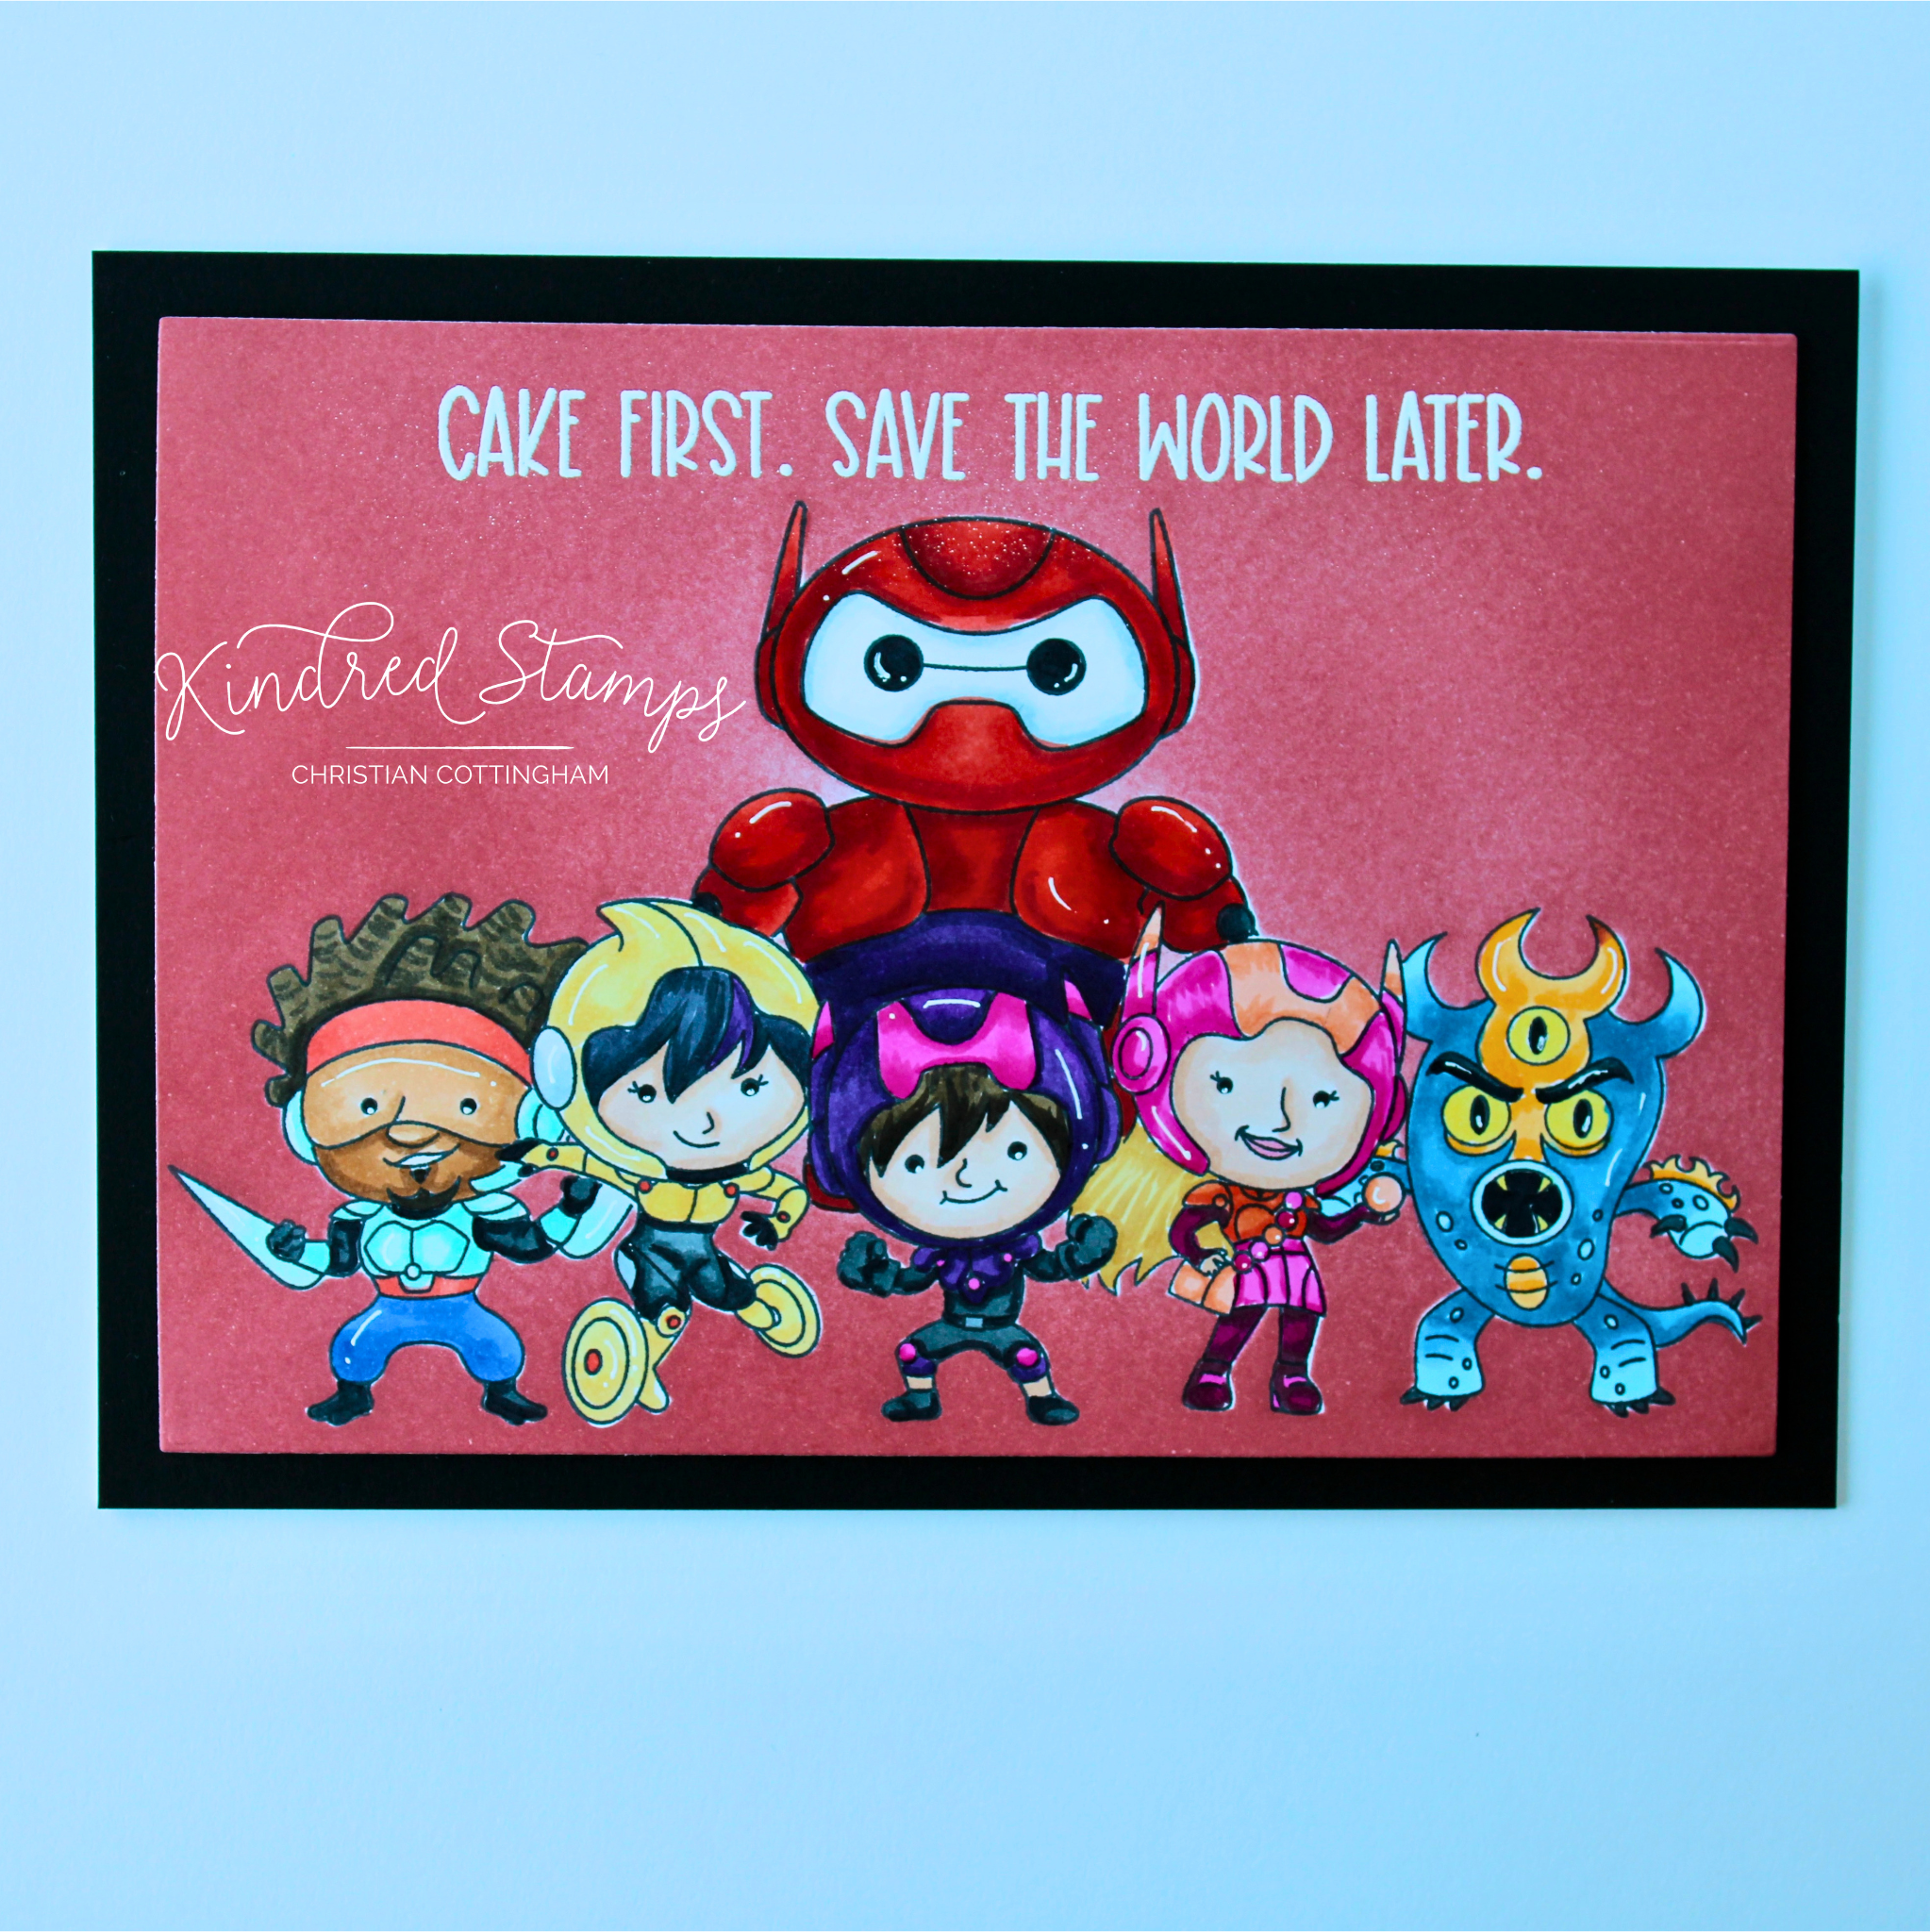
This group of Certified Hero’s know what their path is but have their priorities set. Cake always comes first! Let’s break down this masked card.
A piece of white cardstock was trimmed to 5 inches by 7 inches. All of the images were stamped onto a piece of masking paper and fussy cut out on the line. This was done prior to the stamping of the scene.
The images were stamped in a specific order and then the masks were applied after each stamping. The first image stamped was the Purple Boy. This image is the character that is infant of all the other images. Next up were the Yellow Girl and Pink Girl. The Furry Boy and Headband Boy were then stamped. Finally the Robot was stamped and also masked.
With Lumbar Jack Plaid (Distress Ink) was blended from the outside to the inside with the heaviest ink applied on the edges and lighter in the center of the imaging lineup. When satisfied, the masks were removed. That’s my favorite part of masking!
The panel was trimmed down with an A7 nested die to allow a thick boarder around the panel. The sentiment was stamped on the top of the panel in pigment ink. To finish the card, a card base was prepared. A piece of black cardstock was trimmed down to 5 inches by 7 inches.
To assemble the card, the black cardstock panel was applied to the card base. Thin foam tape was applied to the to colored panel and placed onto the card base. This team each play there roll and are each a Certified Hero.
Card Size: 5 inches by 7 inches (A7)
Certified hero, Kindred Stamps
Project Two: Friends Are Always There
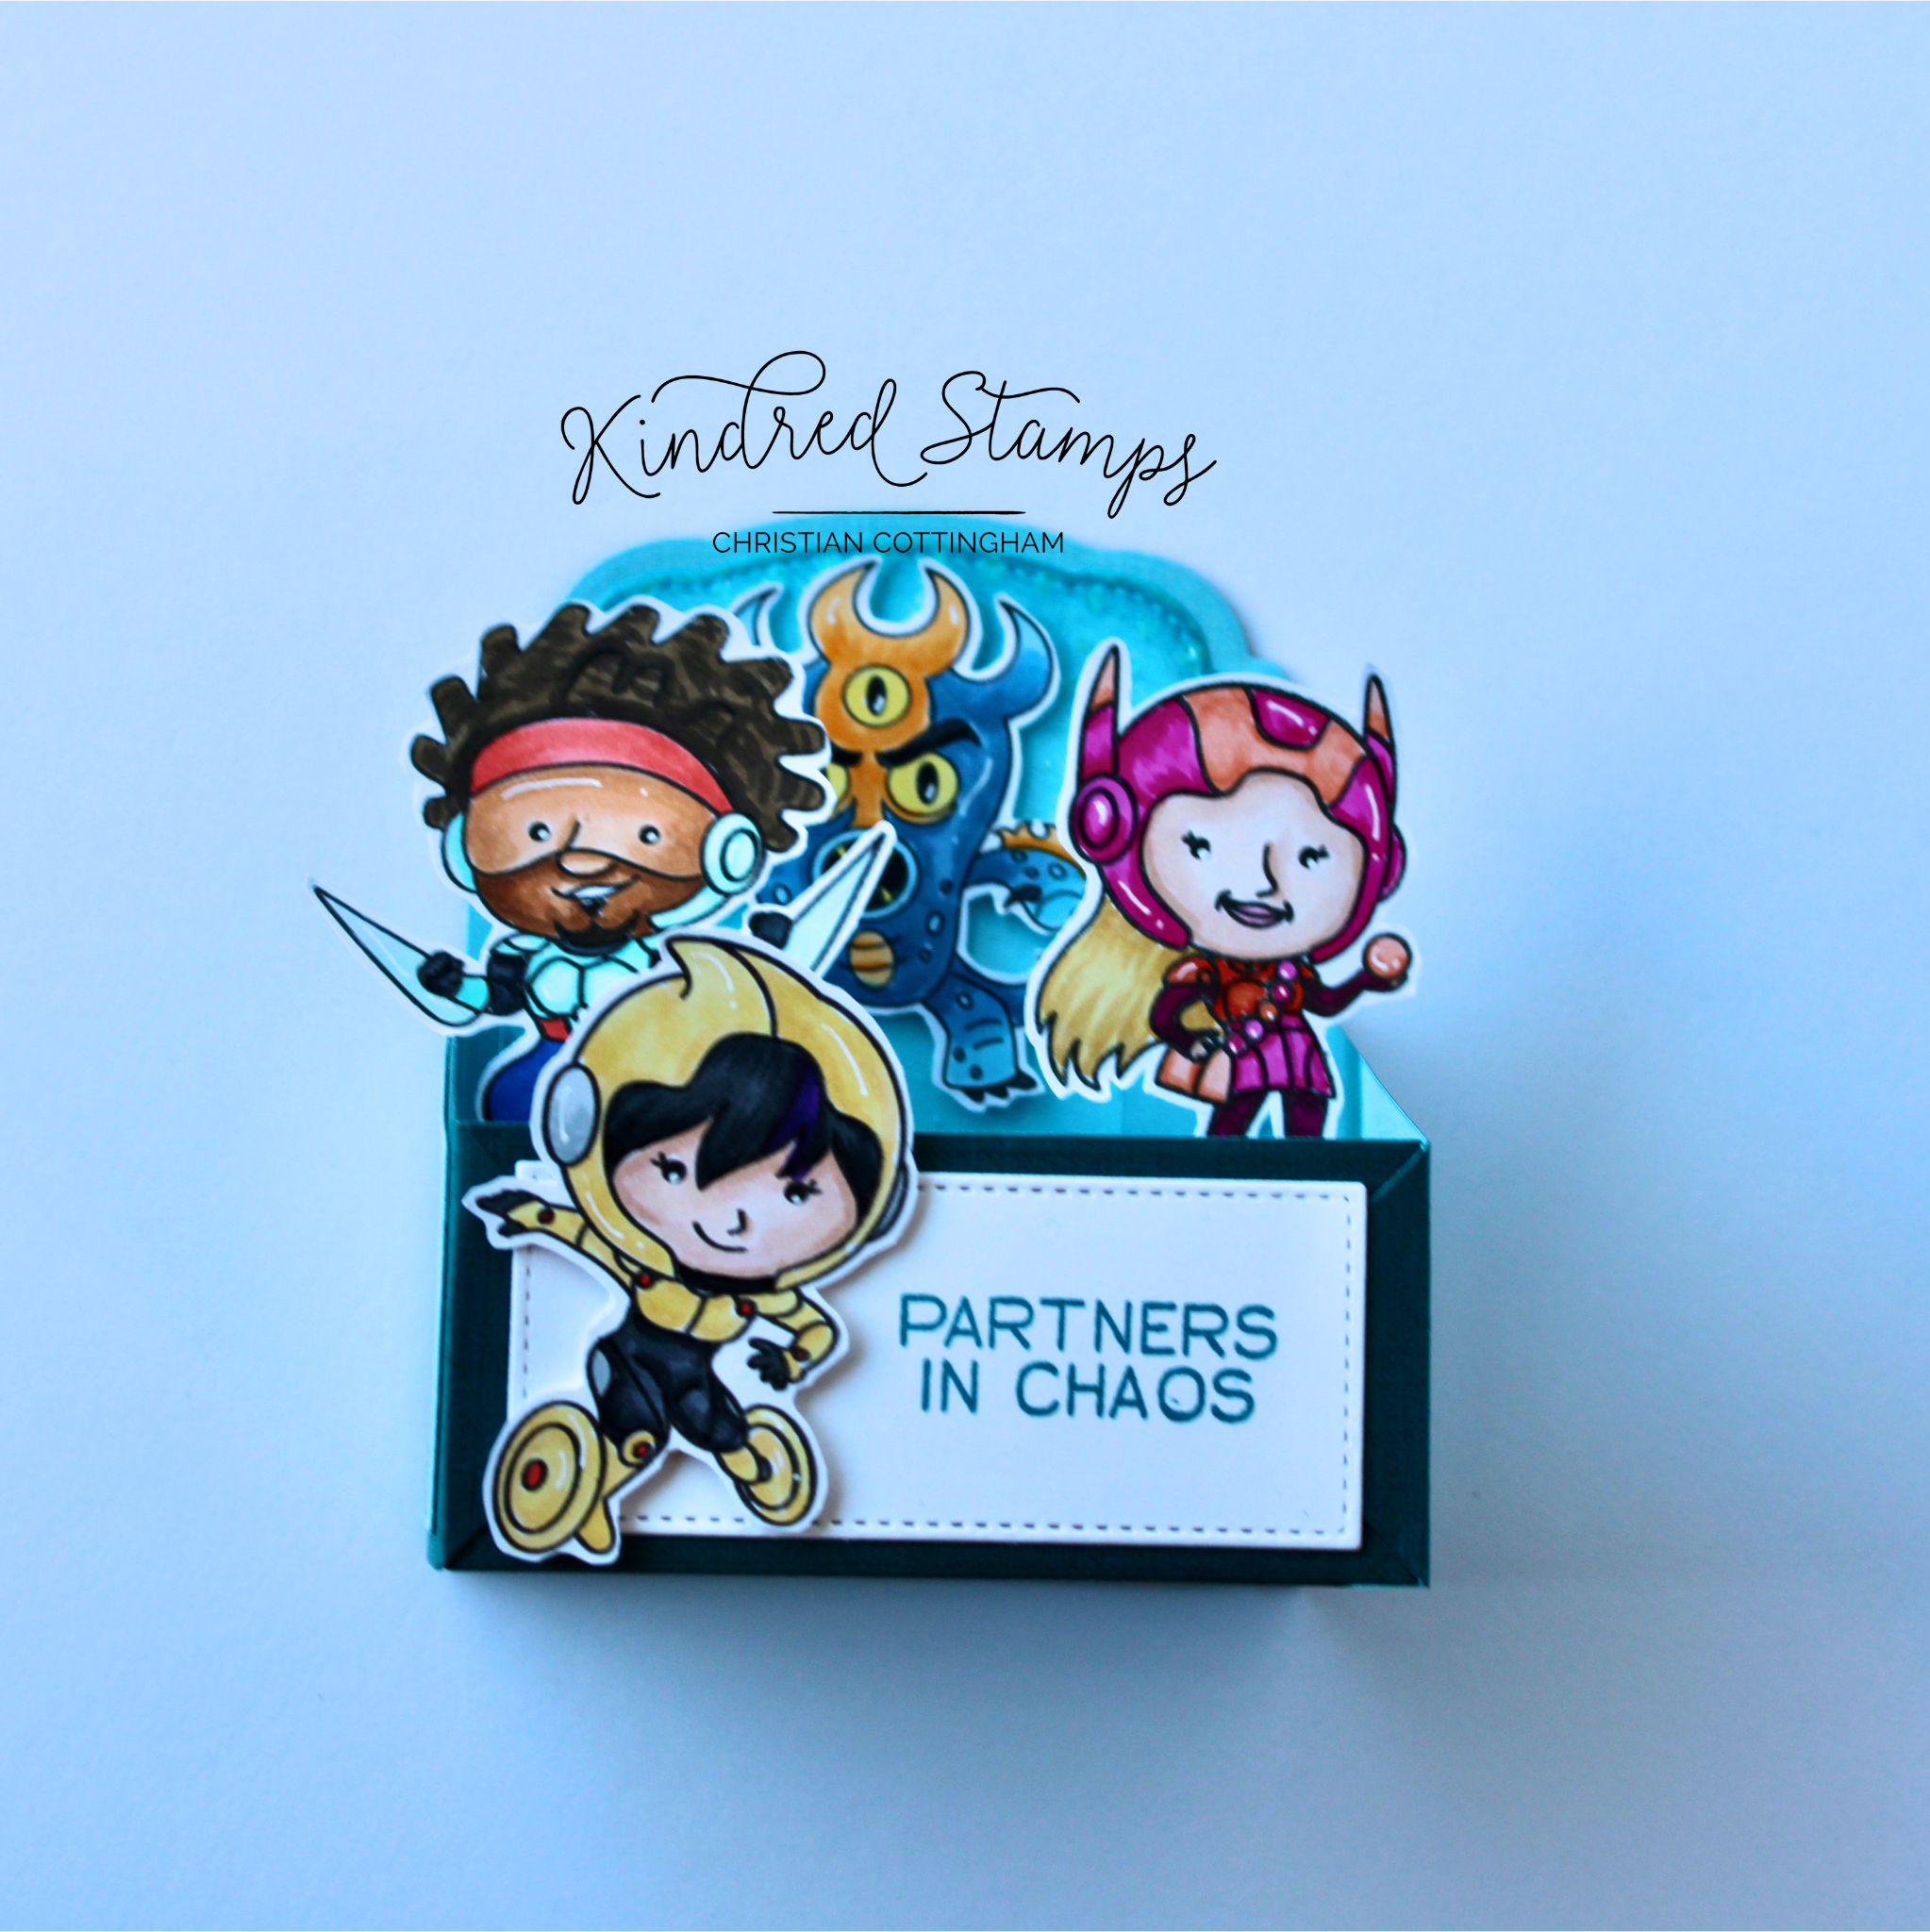
When in a time of need, friends are always there and this crew from the Certified Hero stamp set are ready to spring into action. Let’s break down the dimensional card.
The Box Card Die will provide the structure. The base of the box card was cut out of two-toned paper (light color on one side and darker color on the other) with the darker color to be on the outside and the lighter inside. The side panel covers were cut with the opposite coloring (light on the outside and dark on the inside). The front panel cover was cut from white cardstock. Finally, the background layer piece was cut with the lighter tone facing forward and darker in the back and also cut from a piece of white cardstock.
Taking the background layer piece and some teal ink (Tranquil Teal Gina K. Designs) the panel was ink blended darker on the edges and lighter in the center. With the Halftone Circle Stencil, a glitter gel was spread in a thin layer and set aside to dry while the remainder of the card was prepared.
The five friends were stamped in alcohol ink safe black ink and colored with Olo Markers (See Color Guide). The images were fussy cut out leaving a thin white boarder. The Robot and Purple Boy heads were stamped independently in the same teal ink as the background on the light colored side panels. The sentiment was stamped off to the right side in pigment ink on the white front panel cover.
The box card base was assembled with both double-sided tape and liquid glue. The side panel covers were adhered flat the side panels. The white background panel was adhered to the back of the card to allow a spot for a personal message. The stenciled background panel was glued flat to the background of the box card. Finally, the white front panel cover was backed with thin foam tape and adhered to the front panel.
The Certified Hero images were up next. The Furry Boy had thin foam tape adhered to the back of the image. He was then popped up with some foam tape and applied to the stenciled background.
To add support to the images on the middle tier of the box card, a thin piece of thicker acetate was trimmed and adhered to the back of the Headband Boy and the Pink Girl. The acetate was then adhered to the back side of the middle tier. Finally, the Yellow Girl was attached to the left side of the white sentiment panel.
This box card is a tribute to the friends that show up and live in the chaos with you making them truly the Certified Hero.
Card Size: Box Card (fits A2 envelope)
Certified Hero, Kindred Stamps
Project Three: All the Gang
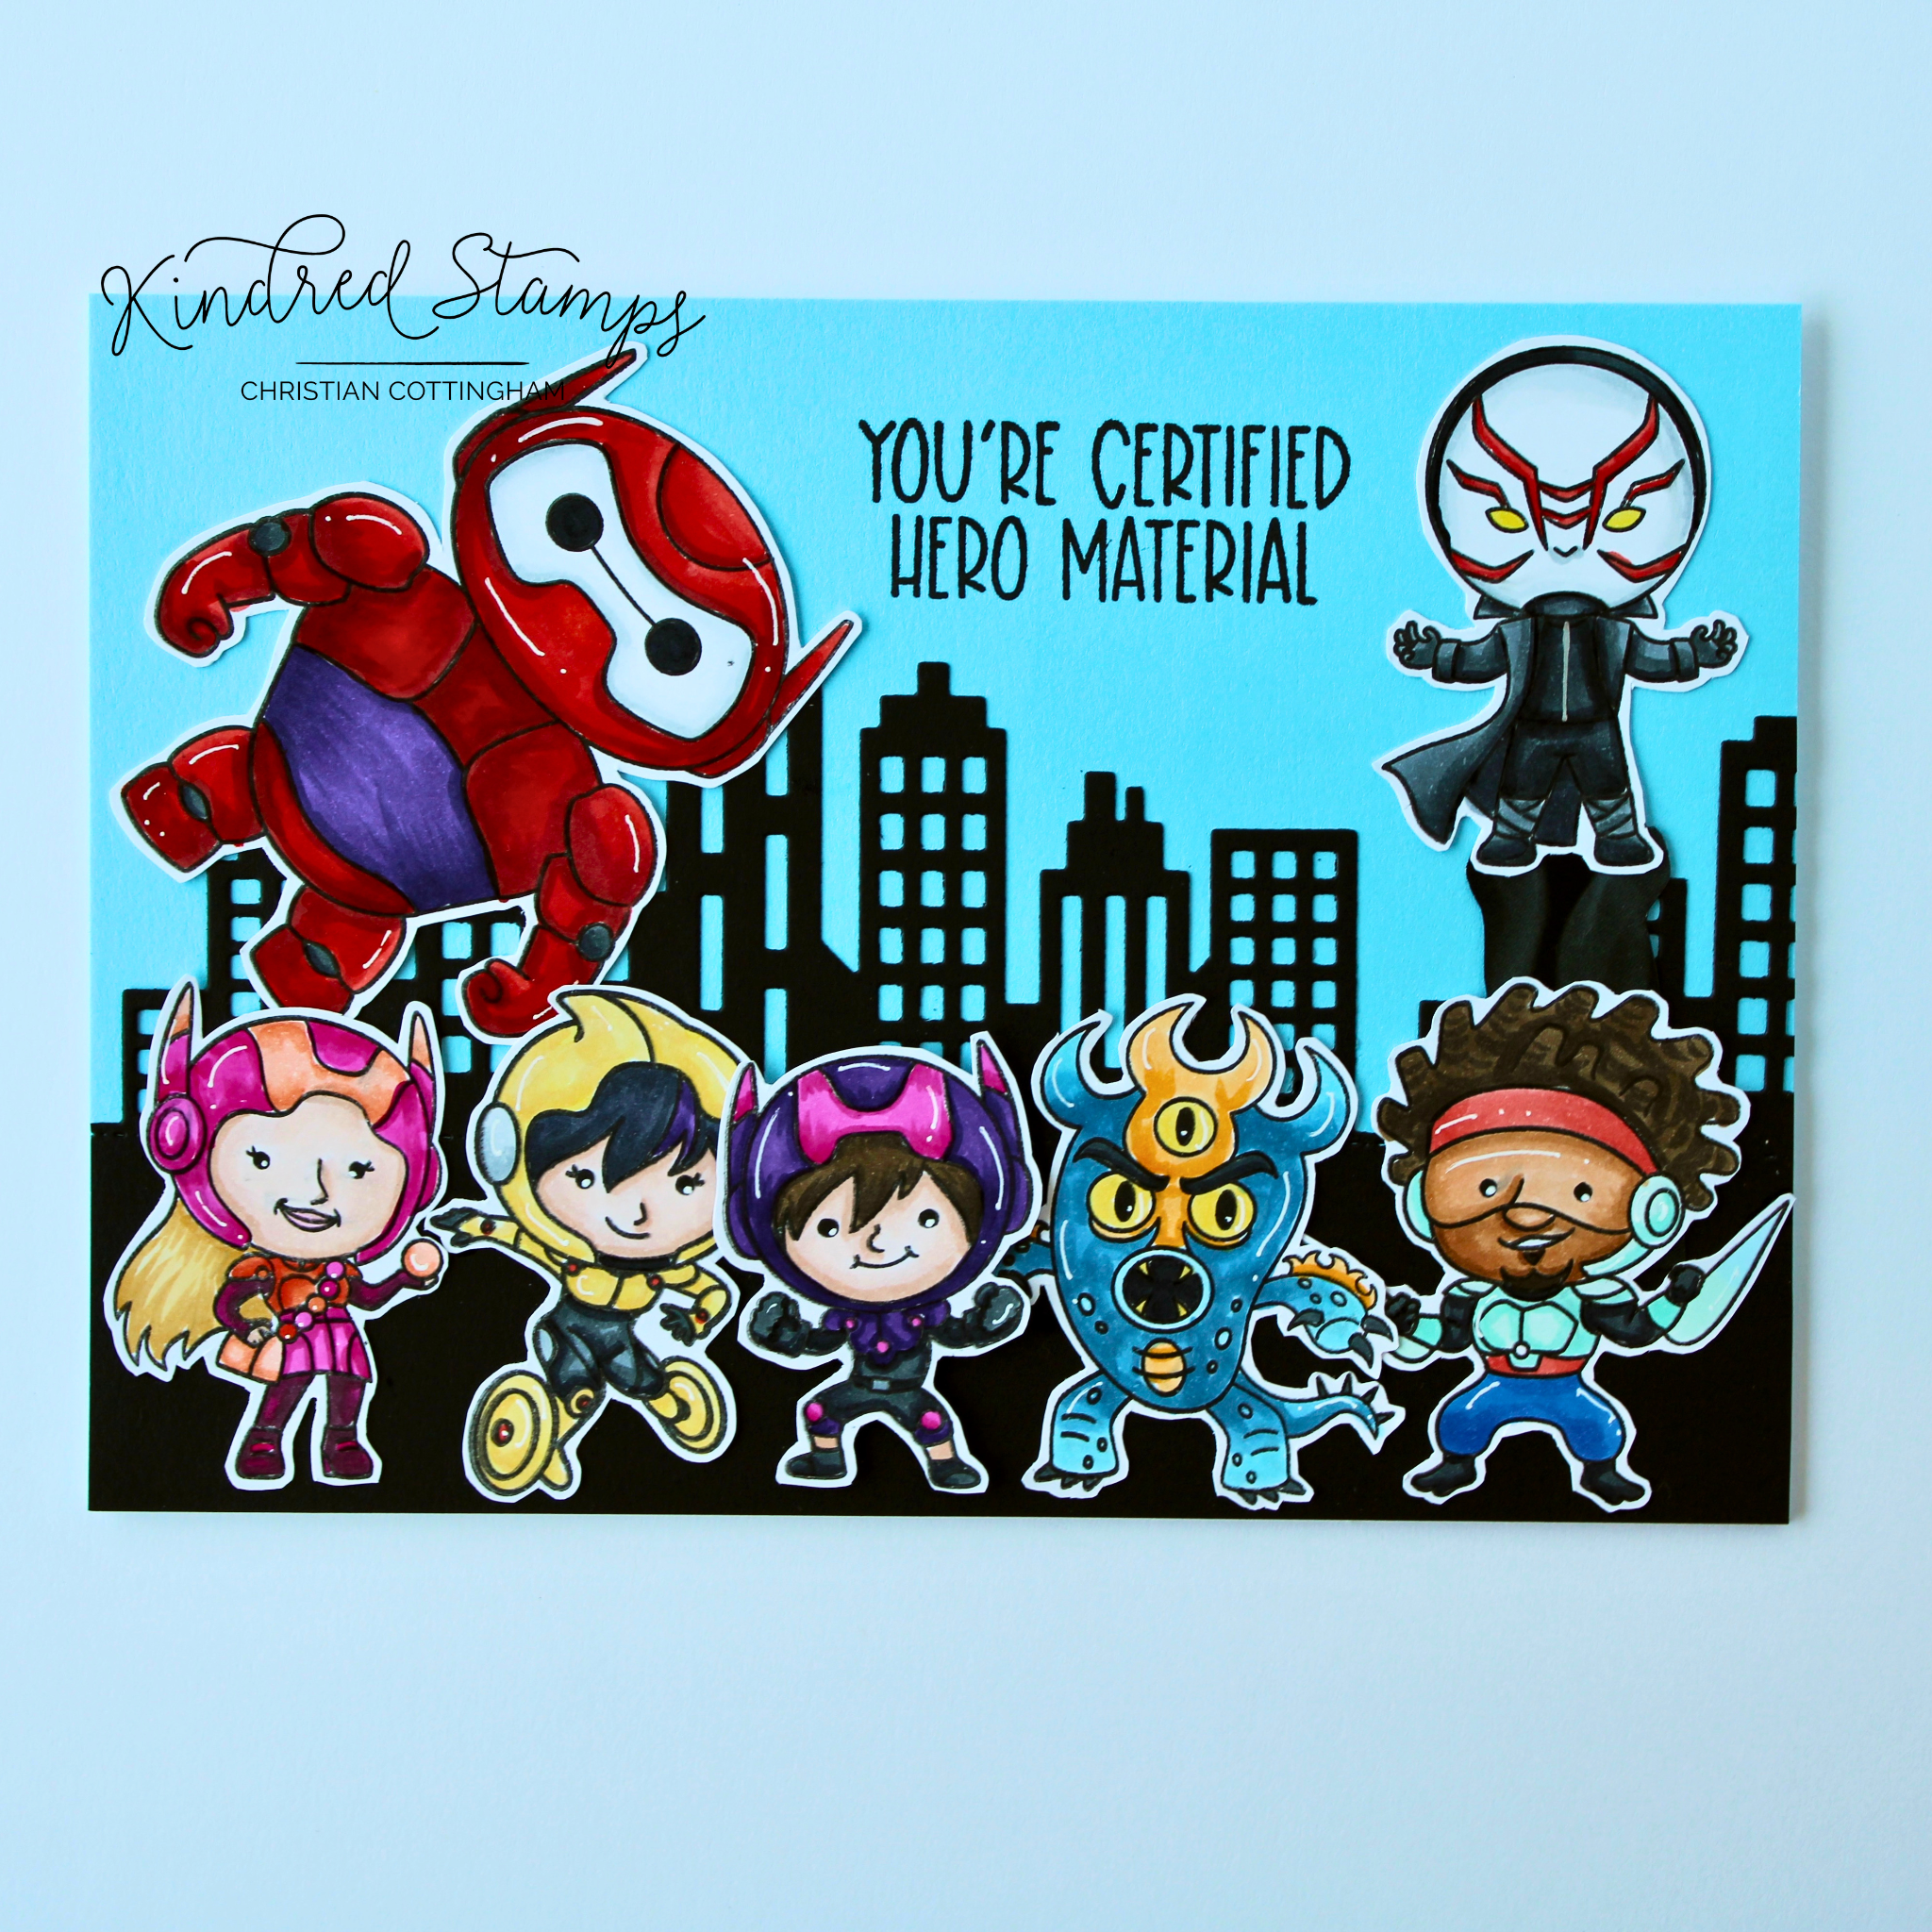
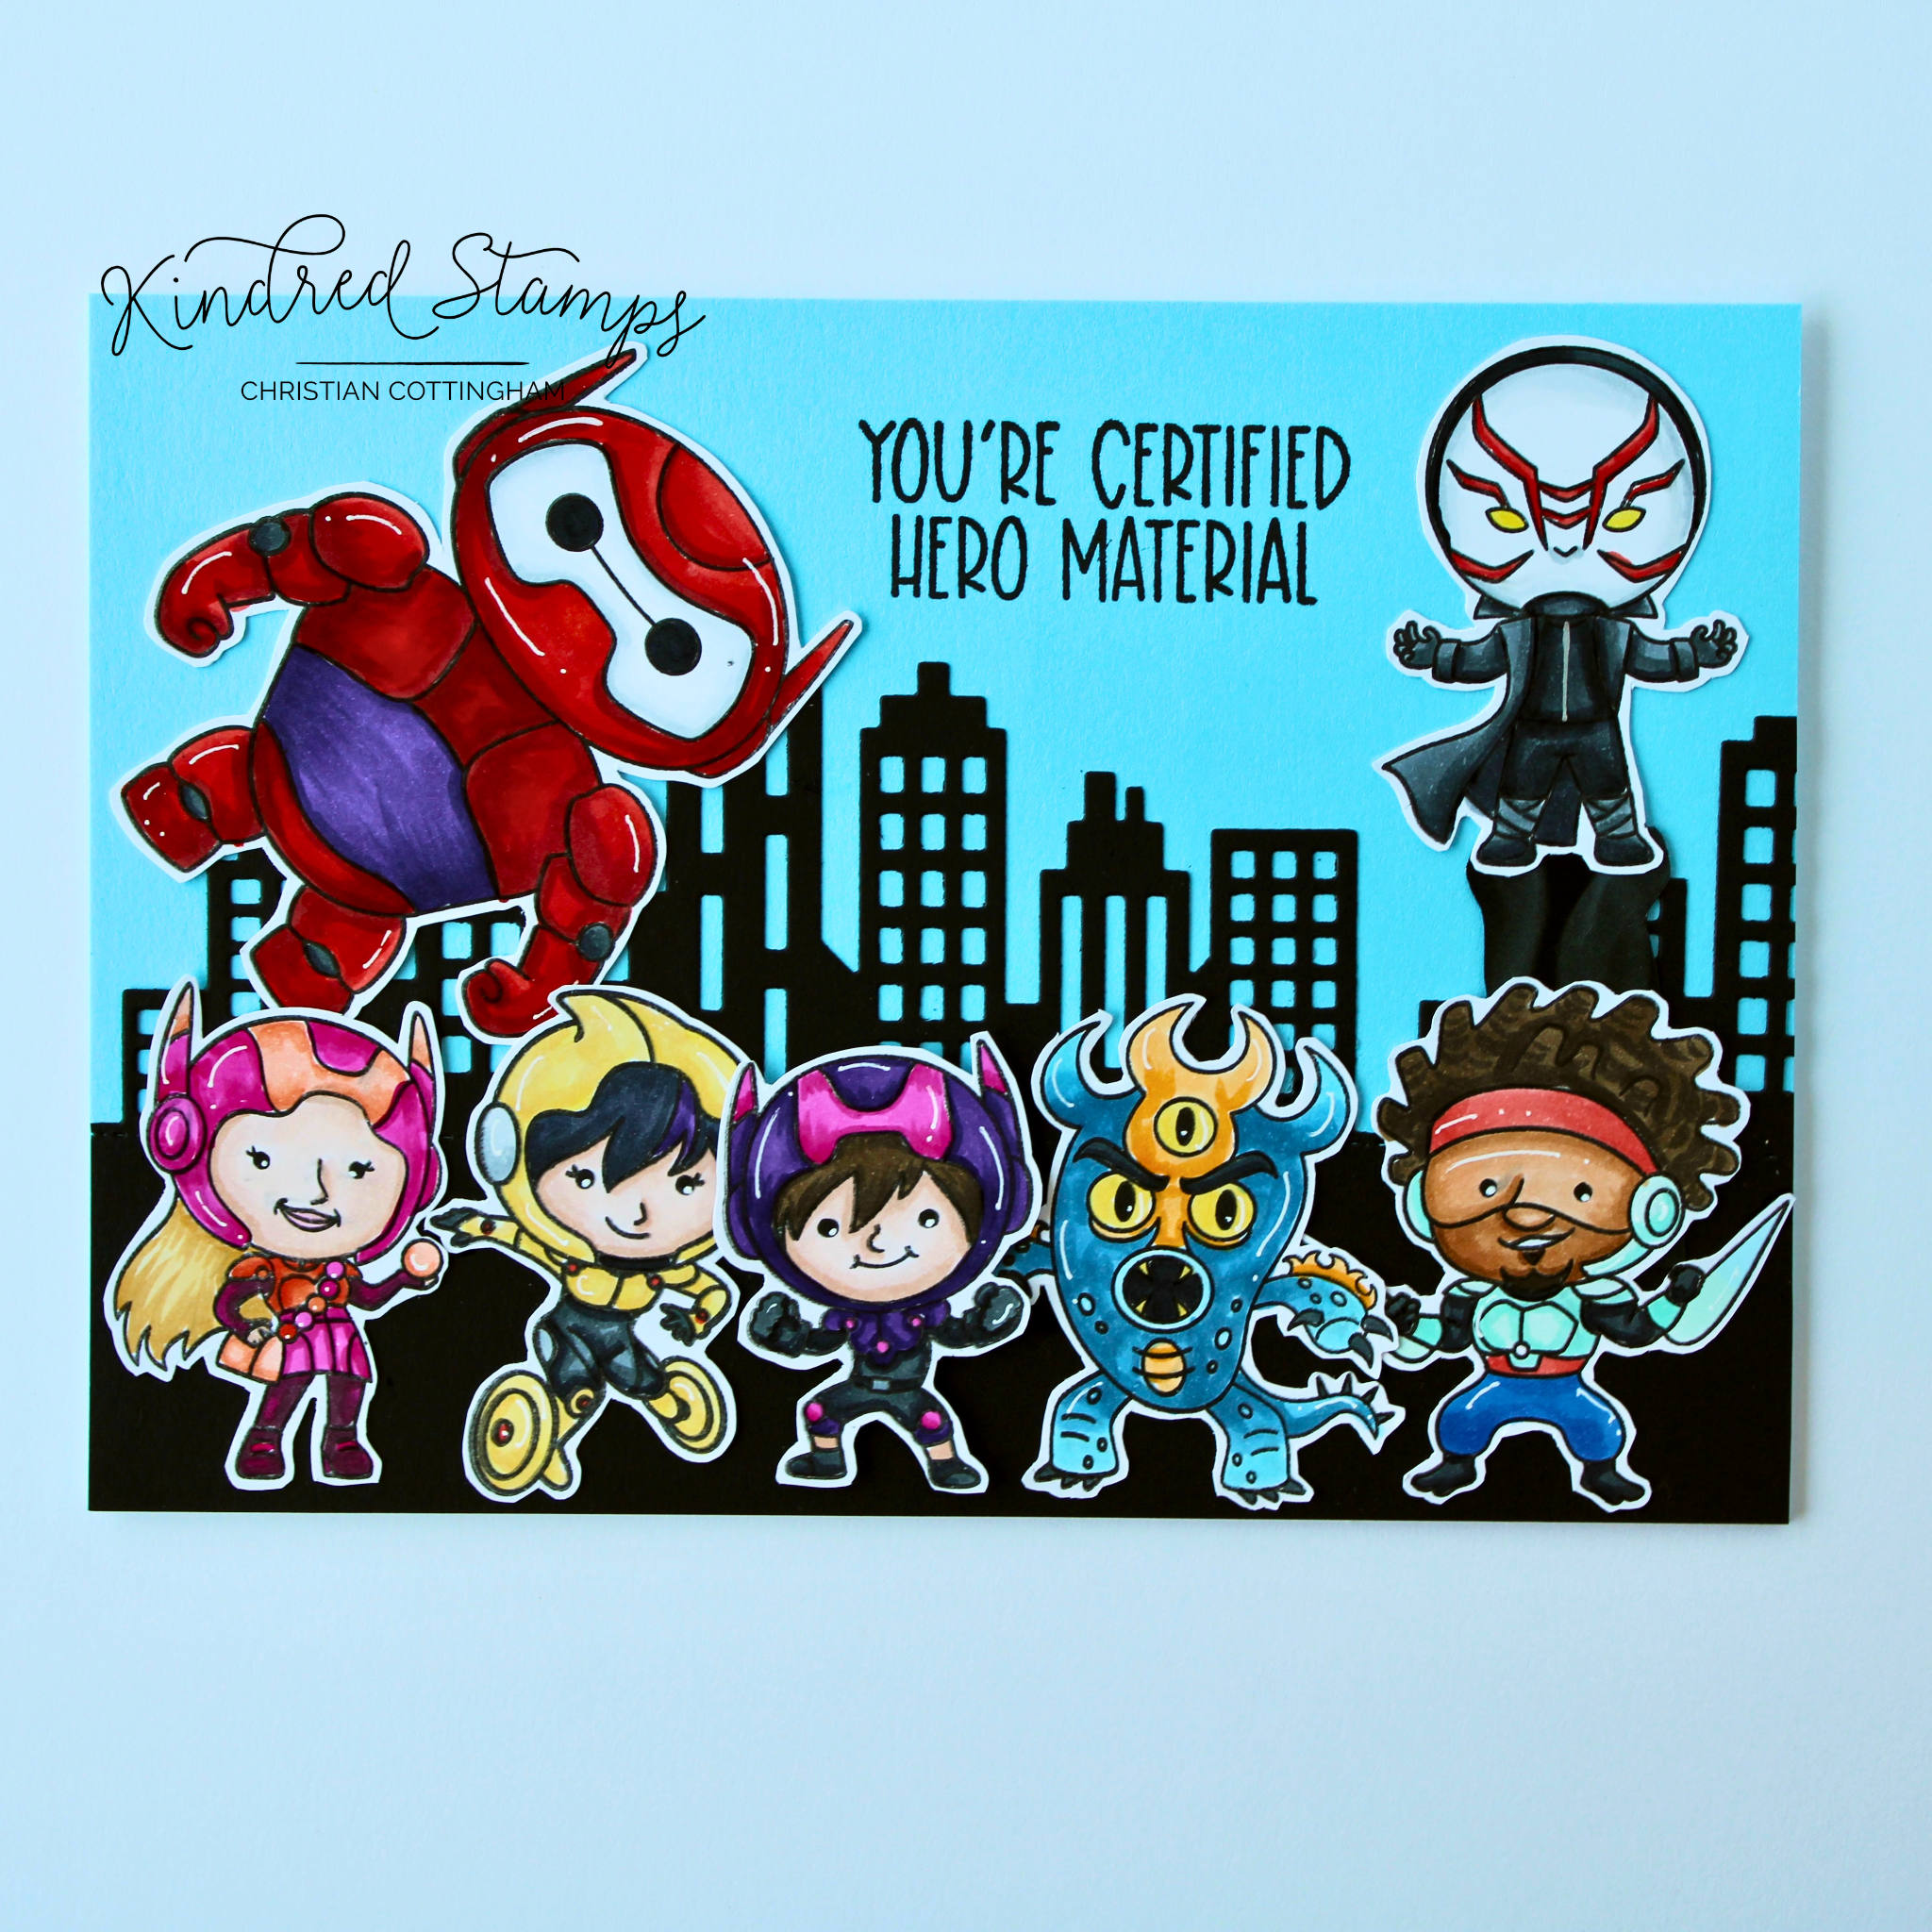
This scene shows off all the images from the Certified Hero stamp set. Using a large card base to make a scene and transforming an A2 style scene die into a longer scene are two ways to get all seven images onto a card front. Let’s break it down.
Each of the images were stamped in alcohol ink safe black ink. The images were colored with Olo Markers (See Color Guide). The images were then fussy cut our leaving a thin white boarder around the images. Thin foam tape was applied to only the Purple Boy. These images were set aside to build the remainder of the scene.
An A7 panel (5 by 7 inches) was cut from a piece of blue cardstock. This was set aside. A piece of black card stock cut to the same dimension. The City Scape Die was placed approximately 1.5 inches above the bottom of the panel. This was run through the die machine. The City Scape die was then realigned on the same boarder and run through the machine again. By stretching the die across the panel, the scene was continuous.
The City Scape scene was adhered to the card panel. Placing all the images on the panel provided a placement guide for the sentiment. The sentiment was then stamped in pigment ink and set aside to dry. An A7 card base was prepped and the panel was applied.
Utilizing a scrap of gray flamed paper from the Flames Paper Pack, a pillar was cut out. Using a black fine liner brush pen, edging was applied to the pillar. The pillar was adhered to the feet of the villain.
To assemble the scene, the Robot and Villain with pillar were applied flat to the scene. Working from the outside in, the other images were applied flat to the panel. Finally, the Purple Boy was popped up in the center of the scene. This gang of unlikely heroes and their villain make take the battle center stage on this card.
Card Size: 5 inches by 7 inches (A7)
Certified Hero, Kindred Stamps
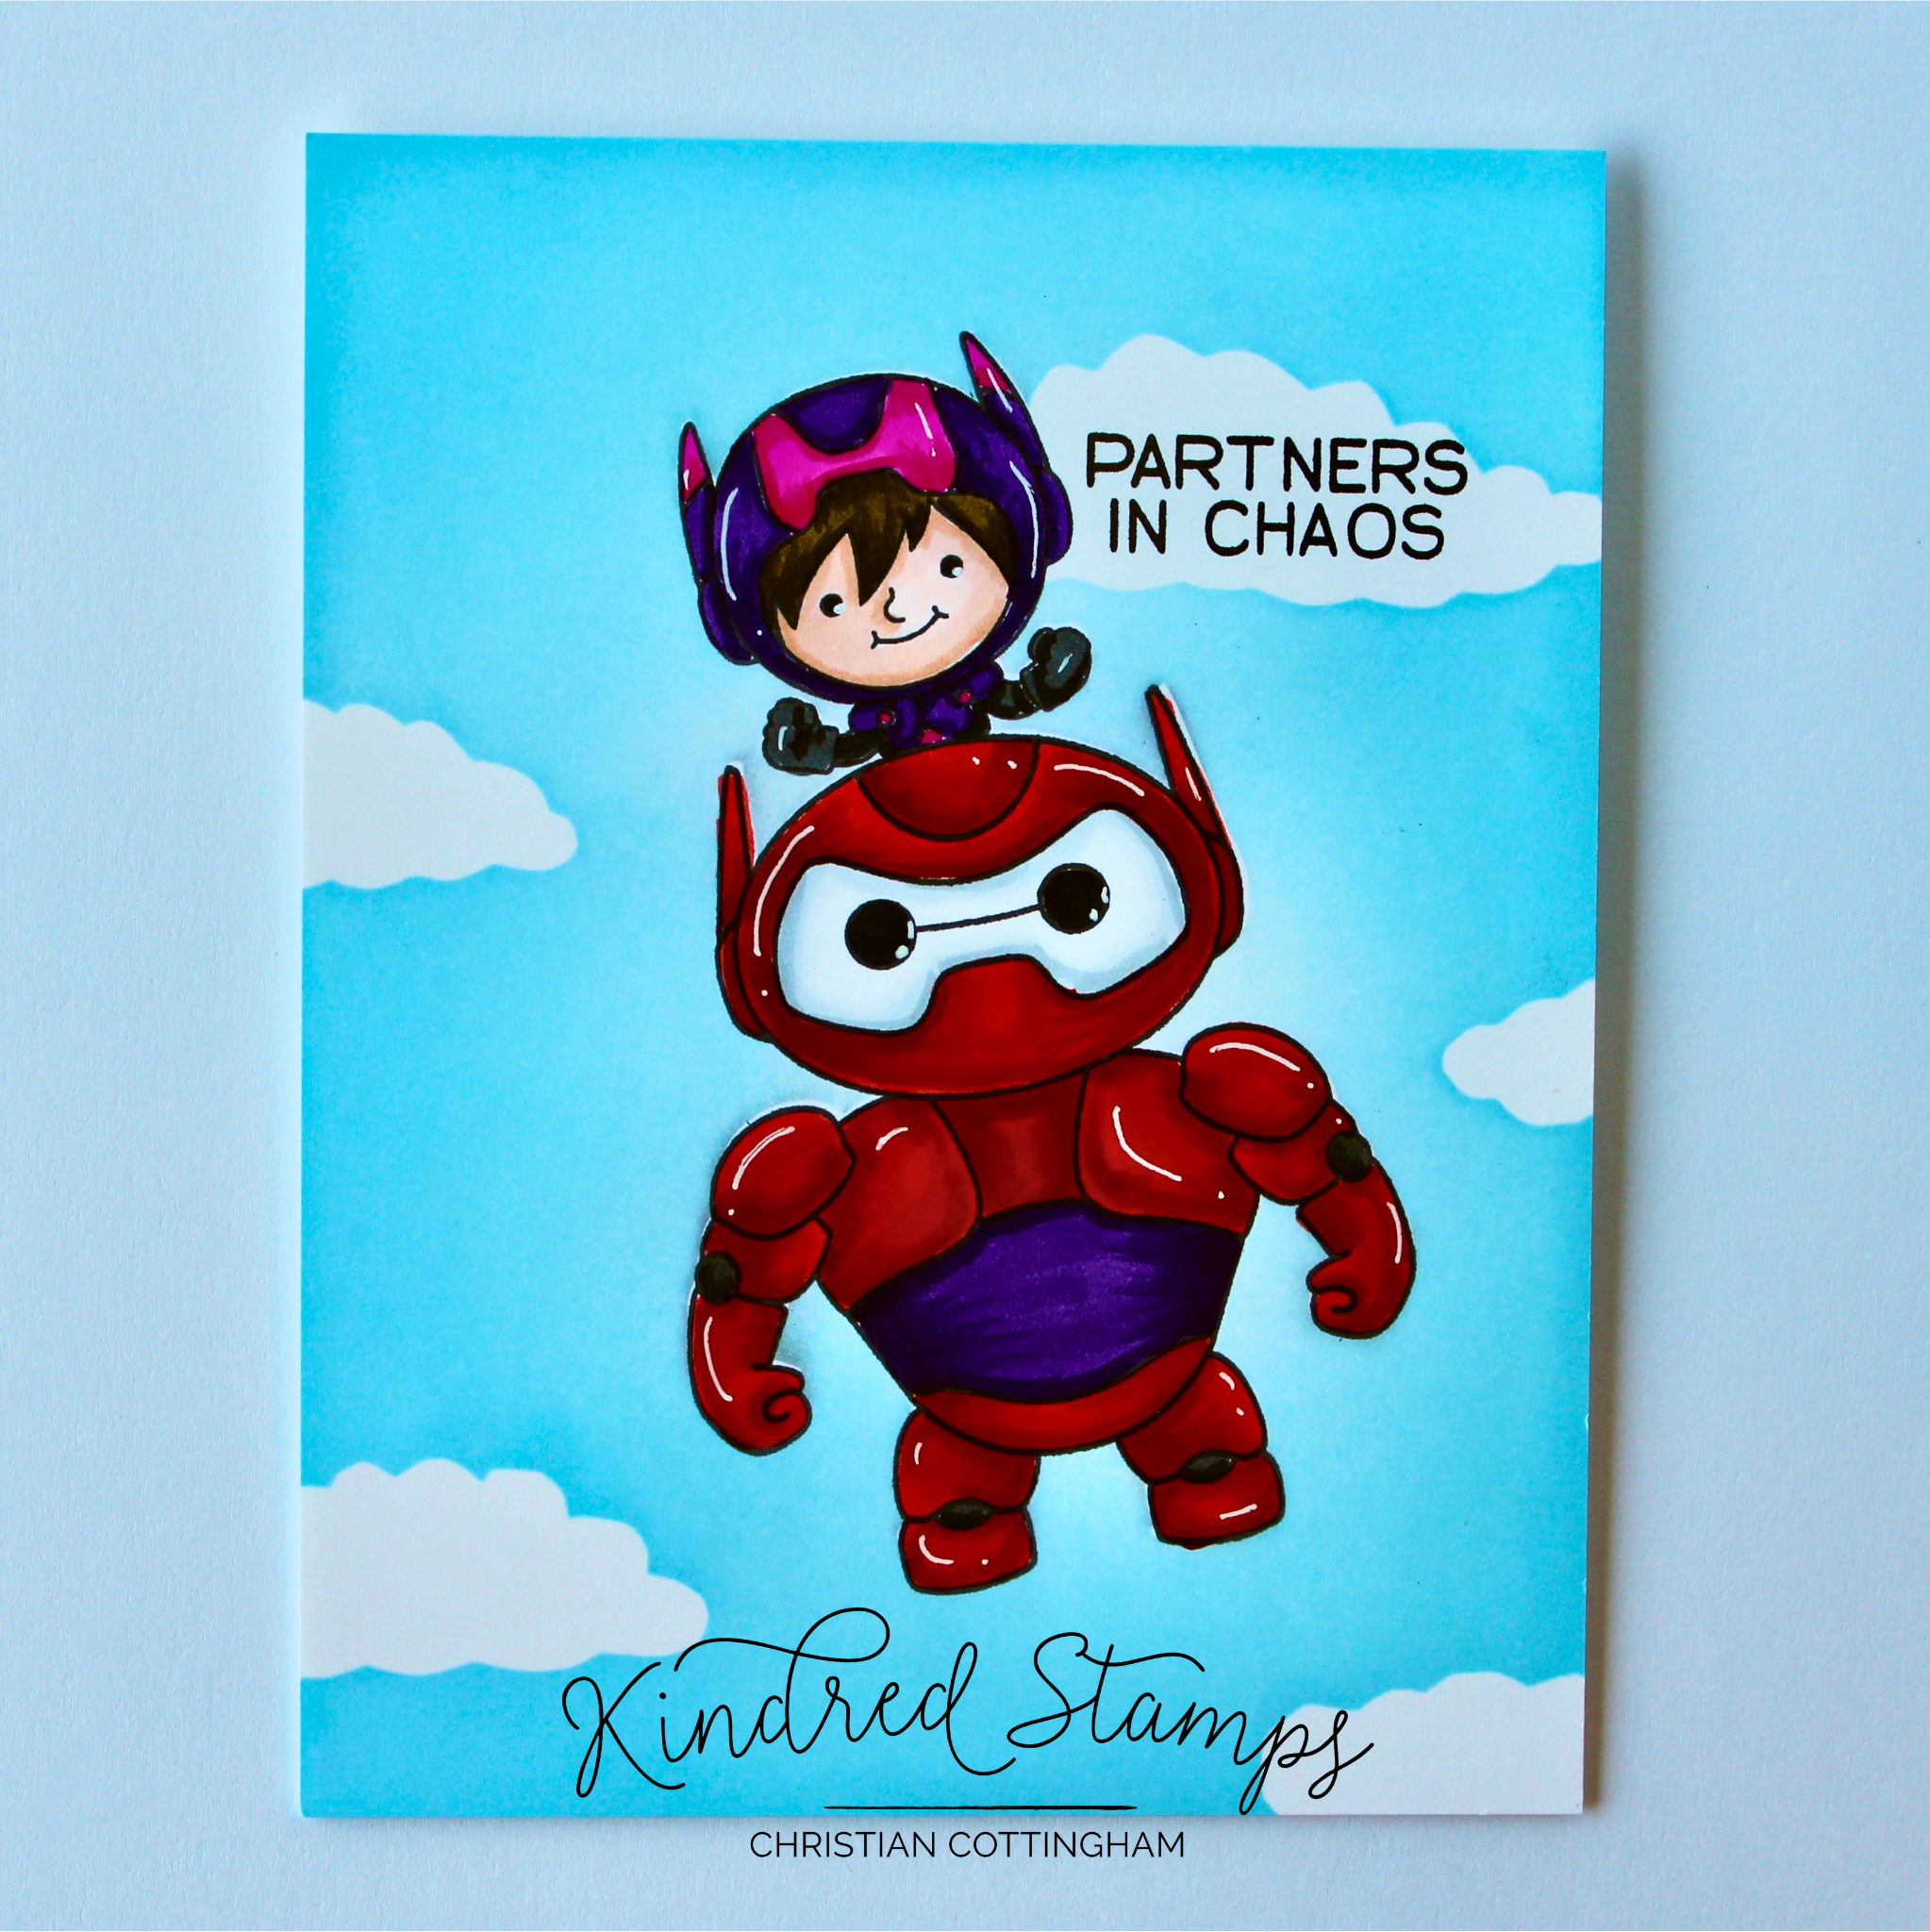
Project Four: Flying High
The Purple Boy and his Robot are proving they are Certified Hero’s in this single layer card. By utilizing simple marking and some ink blending the scene comes to life. Let’s break it down.
A piece of white card stock was cut to an A2 panel (4.24 by 5.5 inches). The Robot was stamped in alcohol ink safe black ink and then stamped on a piece of masking paper. The mask was cut out on the line and placed over the stamped image. A couple clouds were freehand cut out of the scraps of masking paper and set aside. The Purple Boy was stamped as it he was on this back. A mask was stamped, cut out, and applied to the image. The hand cut clouds were arranged and placed on the scene.
With all masks in place, the sky was ink blended with Blue Sky ink (Gina K. Designs). When satisfied withe the coverage the masks were removed and it was time to color. The Purple Boy and Robot were colored with Olo Markers (See Color Guide).
The sentiment was stamped in black pigment ink and set aside to dry to prevent smudging with my giant fingers. While this hung out, the card base was prepped, scored, and folded. The colored panel was adhered to the card base and these partners can continue with their shenanigans.
Card Size: 4.25 inches by 5.5 inches (A2)
Certified Hero, Kindred Stamps
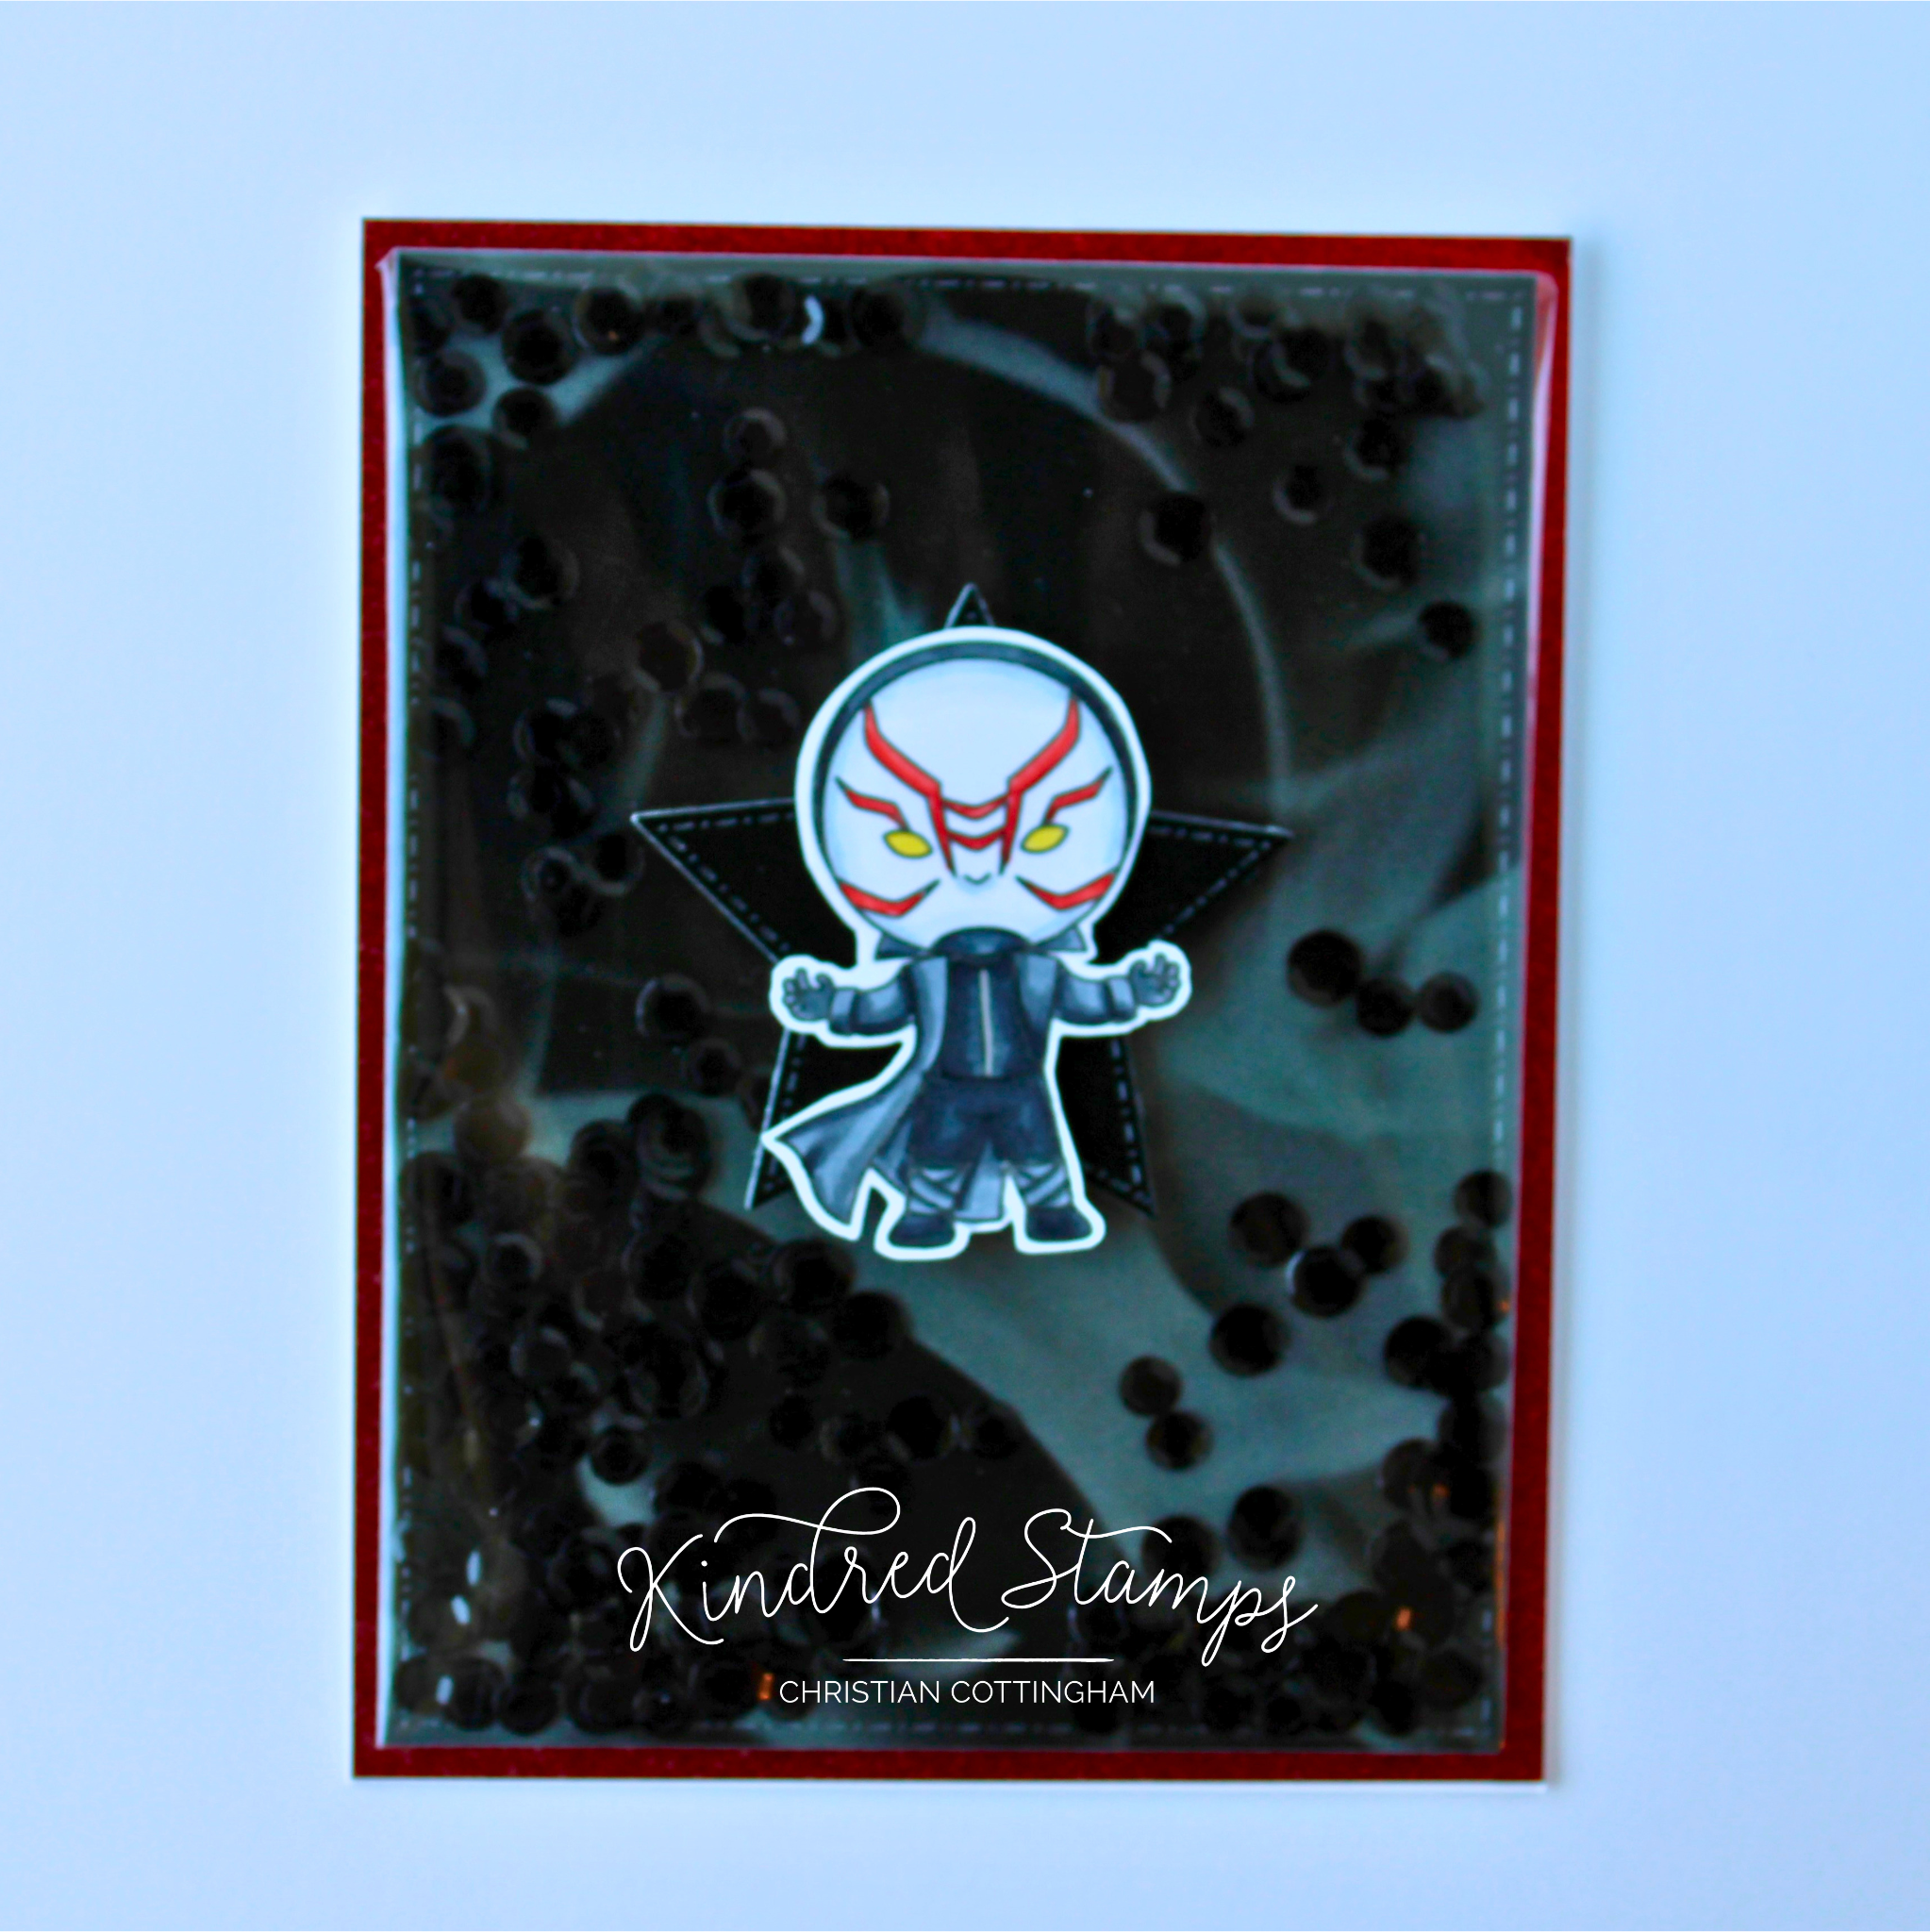
Project Five: Villain Shake It Up
The Villain from Certified Hero is showcased on this card with his little helpers that can go everywhere. Using some pattern paper makes this shaker so fast to come together.
The Villain was colored with Olo Markers and fussy cut leaving a thin white boarder. (See Color Guide). This was set aside to prep the remainder of the card. A piece of red glitter cardstock was trimmed to 4.25 inches by 5.5 inches and adhered to a A2 card base.
From the Card Basic Dies, the large star was die cut from glossy black card stock. The Flames Paper Pack provided the perfect smokey a dark background that I was looking for. Once the section that tripped my trigger was identified, the large rectangle from the Card Basic Dies was centered and die cut out.
With all the pieces prepped, it was time to assemble the shaker element. For the shaker pouch, I used the plastic that the Certified Heros stamp set came in. (The stamp set is stored in a thicker sleeve for manhandling over the years.). The thin acetate was trimmed to be an inch larger than the Flames Paper Pack die cut. The corners were mitered to take some of the bulk out of the corner when the acetate was adhered to the panel. Strong double-sided adhesive was applied to all edges. The panel was centered over the acetate piece and 3 sides of the sticky tape backing paper was removed. The three sides were folded and pressed into the sticky tape. Allowing a non-sealed section for adding the sequins.
Black shiny sequins were sprinkled into the pouch and then laid flat prior the removing the sticky tape backer. The shaker was then shook and shook because you have to it’s a law. More super sticky tape was applied to the back of the shaker pouch making sure to have tape over the acetate and the Flames paper. A thin amount of liquid adhesive was also applied over the sticky tape and paper (to allow a little wiggle time… you know me I can’t lay something straight).
To finish the card, the star was adhered with liquid glue to the center of the card. The Villain was adhered with liquid glue over the star and a magnet was placed to hold the images in place on the acetate until dry. The sentiment “Hope Your Birthday is Next Level” was stamped in the inside of the card.
Card Size: 4.25 inches by 5.5 inches (A2)
The entire Kindred Stamps release will be available this Friday at 8am PST/11am EST. Be sure to subscribe to the Kindred Stamps blog to see a daily line up of sneak peeks from our amazing Design Team! Come join the Fan Club and release event to be part of the release fun, and you may just win some Kindred Stamps credit!!
Coloring Guide:
Purple Boy
Flesh> OR7.2/ OR7.1/ OR2.0
Hair> O7.8/ O7.7
Helmet> V2.7/ V2.6; RV1.5/ RV1.3
Shoes> NG9/ NG7
Belt> NG9/ NG5
Pants> NG9/ NG7
Kneepads> V2.7/ V2.6; RV1.5/ RV1.3
Gloves> NG9/ NG7
Robot
Body> NG3/ NG1/ NG0
Armor> V2.7/ V2.6
Yellow Girl
Flesh> OR7.2/ OR7.1
Hair> NG9/ NG7; V2.7/ V2.6
Helmet> YO2.3/ YO2.2; NG3/ NG1
Shirt> YO2.3/ YO2.2
Buttons> R0.4
Boots/ Wheels: YO2.3/ YO2.2
Suit> NG3; NG9/ NG7/ NG5
Headband Boy
Flesh> OR3.7/ OR3.4/ OR3.2
Hair> O7.8/ O7.7
Armor breast plate> BG2.3/ BG2.1
Pants> B0.6/ B0.5
Gloves> BG2.3/ BG2.1; NG9/ NG7
Plasma> B1.1; BG1.2
Headband/ Belt> R0.4/ R0.3
Visor> BG2.3/ BG2.1
Pink Girl
Flesh> OR7.2/ OR7.1/ OR2.0/ R5.3
Hair> YO2.5/ YO2.3
Helmet> Or2.3/ OR2.2; RV1.5/ RV1.3
Shirt> RV1.8/ RV1.7
Breast plate> OR2.5/ OR2.3
Dress> RV1.5/ RV1.3
Tights> RV1.8/ RV1.7
Purse> OR2.3/ OR2.2; R1.5; R1.3
Furry Boy
Fur> B1.3/ B4.3/ B4.6
Eyes> YO0.2
Mouth> YO0.2/ NG9
Area Around Eyes> O1.3/ O1.2
Spikes> O1.3/ O1.2
Brows/ Claws> NG9/ NG7
Villain
Mask> NG3/ NG1/ NG0; R0.5/ R0.4
Eyes> Y1.4
Jacket> NG9/ NG7/ NG5
Pants> K/ MG9/ NG7/ NG5
Leg warmers> NG7/ NG5